It’s never a bad idea to complete some DIY home repair projects around the house when you have free time. Not only do they add value to your home, but they also give it a fresh look you can enjoy day in and day out.
You might not be sure which projects you should try to tackle on your own, though. That’s why we’ve compiled a list of 7 DIY Home Repairs you start today! We’ve included some helpful tips and styling options to get you started.
Let’s dive right in!
1. Upgrade Light Fixtures
Upgraded light fixtures not only give your home a modern look, but they can also increase your energy efficiency. According to Energy, modern light fixtures are compatible with LEDs and CFLs, which will help reduce your energy costs.
According to Lowe’s, these are the steps you should follow when replacing your light fixtures:
- Turn off the power
- Remove old fixture
- Tighten screws
- Connect wires
- Secure the base
- Install bulb
- Install trim and cover
- Turn the power back on
If you’re wondering what kind of fixtures will modernize your home’s design the most, we have a few suggestions. Matte black and clear fixtures give your home an edgy, industrial look.
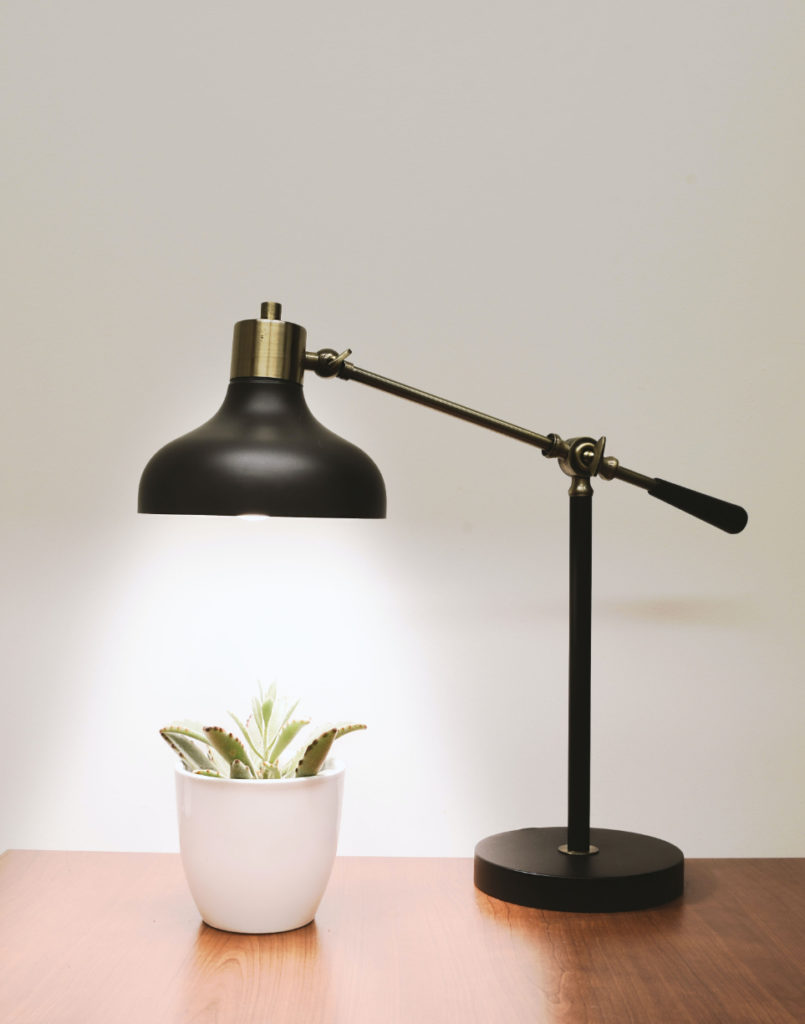
Geometric chandeliers are perfect for homes that exude class, and wicker is perfect for a tropical vibe. Any style of pennant fixtures are very popular and elevate the style of any home.
2. Remove Popcorn Ceilings
Popcorn ceilings were once extremely popular in the world of home design. These days, they only distract from your otherwise sleek and modern decor. If you want to remove them, set aside a day. While it isn’t a difficult project, it is time-consuming.
Once you’ve confirmed your ceilings are free from asbestos, Architectural Digest suggests you complete the following steps:
- Cover all surfaces and wear protective gear
- Wet the ceiling by spraying with water
- Use a putty knife to gently scrape the ceiling
- Sand
- Prime and paint
3. Freshen Up Your Paint
 Over time, paint chips and stains. That’s why it’s a good idea to repaint your home every 5-7 years, according to Sharper Impressions. If you’re not sure what colors you should choose, here are a few colors and features that are currently very popular.
Deep moody hues are extremely elegant and draw the eye of every guest. Dusty blue, hunter green, and dark gray are perfect for a formal dining or living room.
Organic, earthy tones keep things clean so that your home decor can shine. Wood tones, like Birch, will give an airy feel to your living room or kitchen.
The classic dynamic of black and white gets an upgrade with modern touches. Create an interesting pattern in your hallway for a look that is sure to impress.
Jewel tones are classy and create a romantic mood in the bedroom. Royal blue, deep purple and emerald green are all bold options.
4. Clean Up the Exterior
Not all of your home repairs have to take place on the inside. The exterior of your home is just as important, and it’s the first thing guests will base their impressions upon. The following repairs are simple and easy, but they also make a huge impact.

Powerwash Siding
You can rent or purchase a power washer from your local hardware store. They’re relatively affordable and simple to use. In most cases, you’ll simply need to connect it to your water hose line. Once you turn it on, follow these tips from Family Handyman for the best results:
- Point the spout downward
- Don’t use while on a ladder
- Avoid electrical outlets
Patch the Lawn
A patchy lawn can become unsightly very quickly. That’s why it’s important to seed your lawn as soon as patches begin to appear. HGTV says you’ll want to start the process by scoring the dead areas of your lawn.
Next, remove a couple of inches of dead soil. Then, fill with fresh topsoil. Finally, you can cast your seeds and rake them into the soil. Cover with straw to retain moisture and protect from birds.
While you’re at it, go ahead a re-mulch your flower beds and add some more color. A little gardening always goes a long way.
5. Upgrade Bathroom Finishes
Upgraded bathroom finishes give your home a polished look. Unless you’re doing an entire remodel, make sure you choose new fixtures that won’t look out of place with your current design. Here are a few tips to remember when completing this home repair:
- Turn off the water
- Make sure thread sizes match
- Follow directions on the packaging
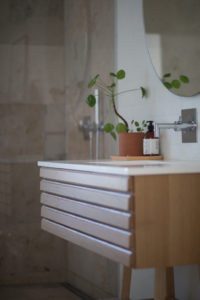 Black fixtures work well with a variety of bathroom designs and create a clean look. Use all black faucets and drawer pulls in retro bathrooms for a modernized feel. However, this color really goes with everything.
Bronze fixtures are typically thought of as out-dated, but they can add a much-needed splash of elegance. They work well with all-white or brown bathrooms.
Gold faucets and handles make your bathroom shine. Just be sure to select a bright gold and pair with a dark gray or black and white theme.
6. Restain Cabinets
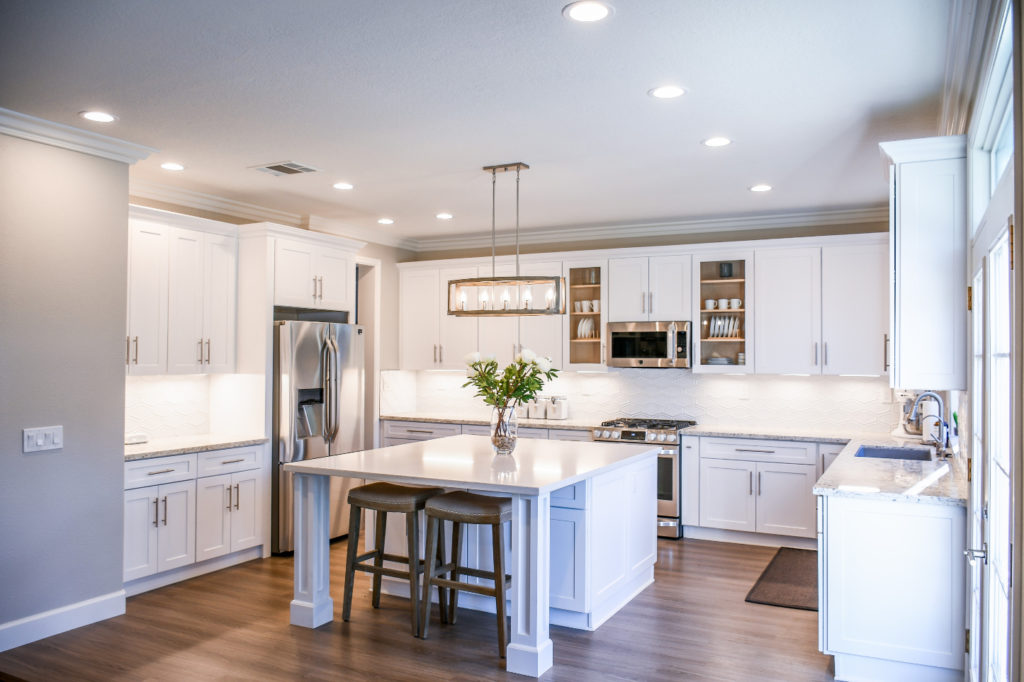
Restaining or repainting bathroom and kitchen cabinets can give your home an upgraded feel for a fraction of the cost. Just be sure to do the proper prep work so that your job has a seamless finish.
Start by removing all cabinet doors and setting aside all hinges and pulls. Lightly sand each cabinet and door, and be sure to wipe away excess dust. Make sure to wear protection and cover all surfaces that could be damaged.
The Spruce suggest you apply a pre-stain first and let that soak for ten minutes. Next, apply your stain. You can let this soak for a longer or shorter period of time, depending on how dark you want it. Lastly, wipe off the excess stain before applying a finish.
For kitchens, black, white, and gray are all edgy options. They also work well for bathrooms, but bolder choices are becoming more popular. Make your vanity pop with a deep blue or purple coat of paint.
7. Add Weatherstripping
Weatherstripping is an easy DIY home improvement project that can save you money on your electric bill. Weatherstripping can be picked up at your local hardware store and is easy to install.
Lowe’s can help guide you toward the correct size you need. After you purchase, make sure to follow these steps that they suggest:
- Clean molding with water and let dry
- Cut tape to fit
- Peel the back and press to molding
- Secure the sweep to the door with screws
- Ensure that the sweep is flush with the floor
If performed properly, each of these repairs can greatly enhance the design and value of your home. If you come across anything strange while completing these DIY home repairs, make sure you consult a professional.


