With the spread of COVID-19, it’s more important than ever to keep yourself protected. With supplies being in short demand, sometimes you’ll have to make do with what you have on hand and get a little creative. Luckily, there are a lot of ways to make your own protective equipment, and the supplies you’ll need are for the most part easy to get your hands on. here are some of the most effective DIY projects to help fight off COVID-19.
Face Masks
What You’ll Need:
- Fabric
- Sweing Machine
- Wire
- Elastic
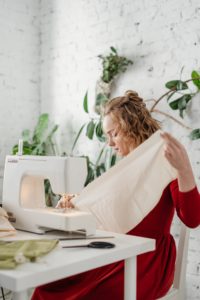
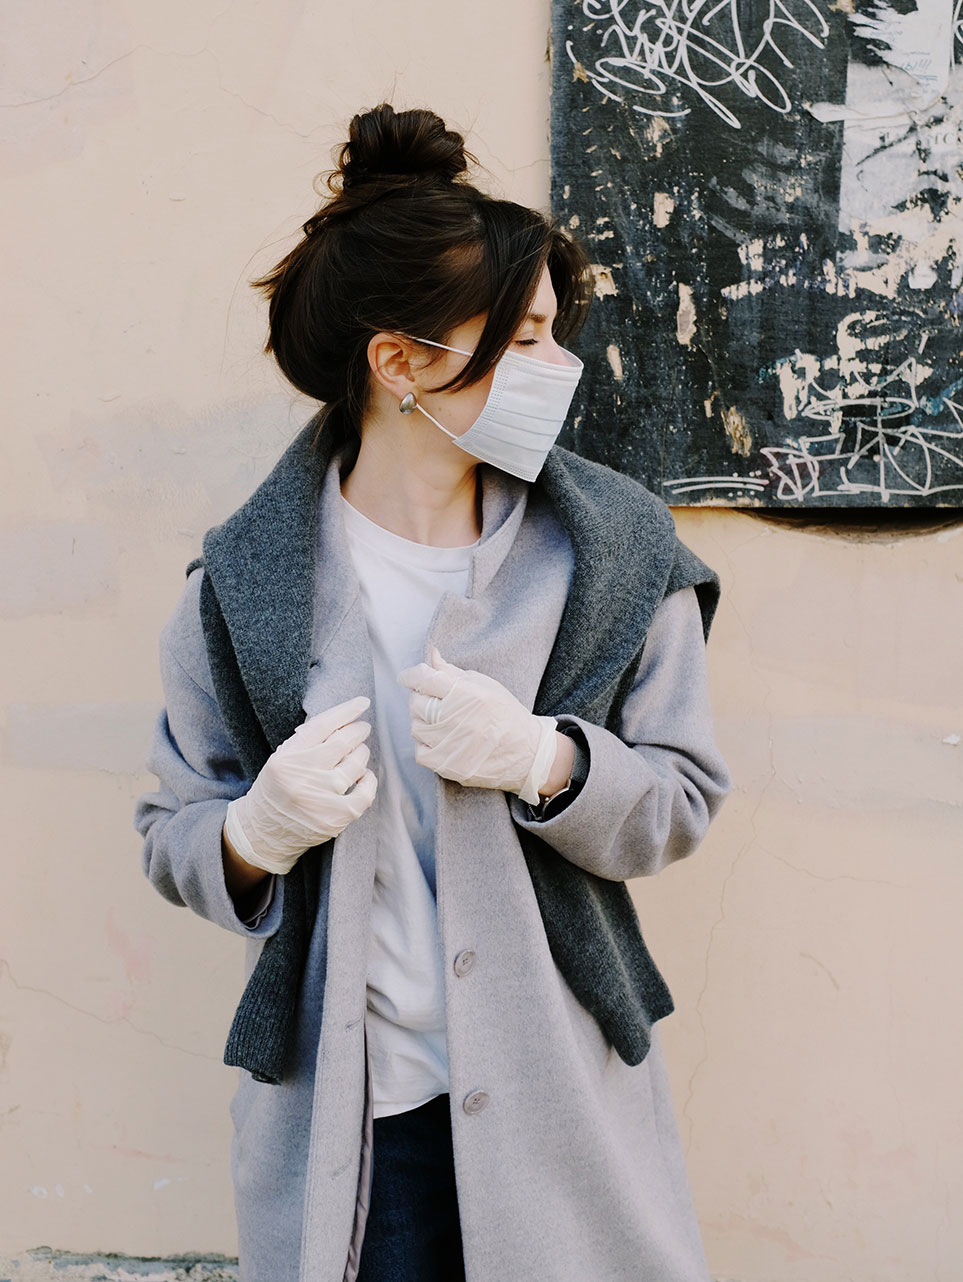
Face masks are essential for staying protected during the COVID-19 outbreak, but luckily it’s possible to make your own if you need something in a pinch. Start off by grabbing some fabric and cutting it into a large square about the size of a sheet of typing paper (around 8×11 inches).
Leaving the printed side face down, fold the bottom of the mask up, leaving about 4 inches of space at the top. Pin the fabric in place before folding the top half down to slightly overlapping the top of the folded bottom piece. Pin the top piece in place and seal the outer edges using a sewing machine. Next, take your wire and feed it up and secure it along the top fold of the mask.
Pin this in place and then sew the wire in place along the top edge. Once the wire is securely in place, cut two bands of elastic and sew them in a look at either edge of the sides of the mask. After everything is in place, your mask is all set. If needed, hand sew the edges of the overlapping fabric together, leaving enough space to include a filter if needed.
Resource Modified From https://sarahmaker.com/how-to-sew-a-surgical-face-mask-for-hospitals-free-pattern/
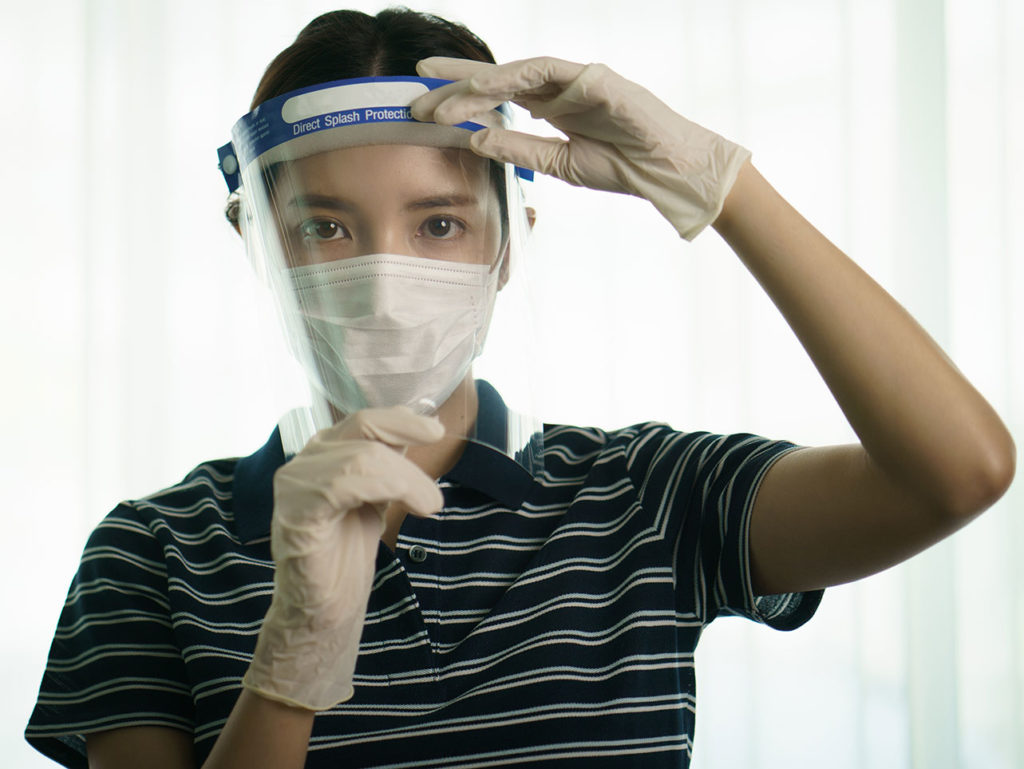
Face Shield
What You’ll Need:
- Elastic Bands
- Rubber Foam or Foam Strips
- Clear Binding Covers
- Box Cutter or Scissors
- Stapler
- Double Sided Tape
This is a surprisingly simple project, only taking a few steps. First, you’ll want to cut an elastic band around 11-12 inches long depending on the size of your head. Set aside two of the binding covers. This provides a thicker shield and helps keep the shield itself more stable, as one shield might tend to flop around a bit.
Cut up to three strips of foam to fit the length of the binding cover, depending on how thick and comfortable you want the foam to be. Peel off the adhesive protector on the foam and stick them to each other, making a stack. After the foam is prepped, you’ll want to stable the elastic to the binding cover.
You should use at least three staples per side to make sure it is firmly secured. Lastly, you’ll want to use double-sided tape to secure the foam to the binding cover. The adhesive should be enough to secure it initially but the double-stick tape will help reinforce the foam a little more.
Video Used For Reference https://www.youtube.com/watch?v=HHUrSX2cJyA
UV Sterilization Bin
What You’ll Need:
- Sealable Container
- 6W portable Flourescent Work Light
- UV-C bulb, 60V, 9W, 254nm wavelength
- Extension Cord
- Foil Tape
- Foil Mesh
- Box Cutter
- Drill
- Zip Ties
This project is fairly involved, and it takes a few steps. First, you’ll want to disassemble your portable lamp. Unscrew the four screws holding it together and take out the bulb that comes with it. Next, see if the new bulb fits into place.
Since the UV-C bulb isn’t standard for these types of lamps, you may need to cut any ribbing or plastic edges specific to the original bulb to make the UV-C bulb fit. Now it’s time to prep the bin.
Take your foil tape and cover the inside of the bin as completely as you can. Then, using the plug as a stencil, mark a section on the lid where you’ll feed the plug through. Use a drill to make guide holes if necessary and cut out the hole for the plug.
Once that’s done, cover the underside of the lid in foil tape as well. After you’ve covered everything in tape, lay the light flat on the top of the in the position you want it, making sure it’s not covering the hole for the cord. Make a few holes on either side to make room for zip ties to hold the light in place. Put the switch for the lamp in the on position and secure it to the bottom of the lid, making sure that the switch isn’t resting against the lid.

Once that is done feed the cord up through the hole in the lid. Once everything is in place, cover any holes using foil tape to make sure no UV light seeps out. For extra security, you can also use a luggage container for this project. Next, you’ll want to arrange the plug and the extension cord in such a way that the bin can not be opened while plugged in.
You may have to drill holes in the clasps that secure the lid of the bin, or secure the wires to the sides of the bin so they meet over the lid, but any configuration is fine so long as you can not open the bin while it is plugged in. This is essential as UV rays can be harmful, and you don’t want any leaking out due to the bin being opened while in use. Once that’s done, seal up any additional holes with foil tape, toss your masks in and let them sit in the UV light for 30 minutes to sterilize.
Project Used For Reference: https://makezine.com/projects/build-a-diy-uv-c-sterilization-cabinet-to-fight-covid-19/
These simple DIY projects should help keep you safe…
…while dealing with the COVID-19 outbreak, and while there are a lot of other projects that require more involved technology like 3D printing and engineering skills like making ventilators and respirators, there is still plenty you can do with the tools you have lying around the house. Using the proper personal protective equipment is key to preventing the spread of COVID-19, so remember to always keep your face covered when you go out in public, and stay safe!